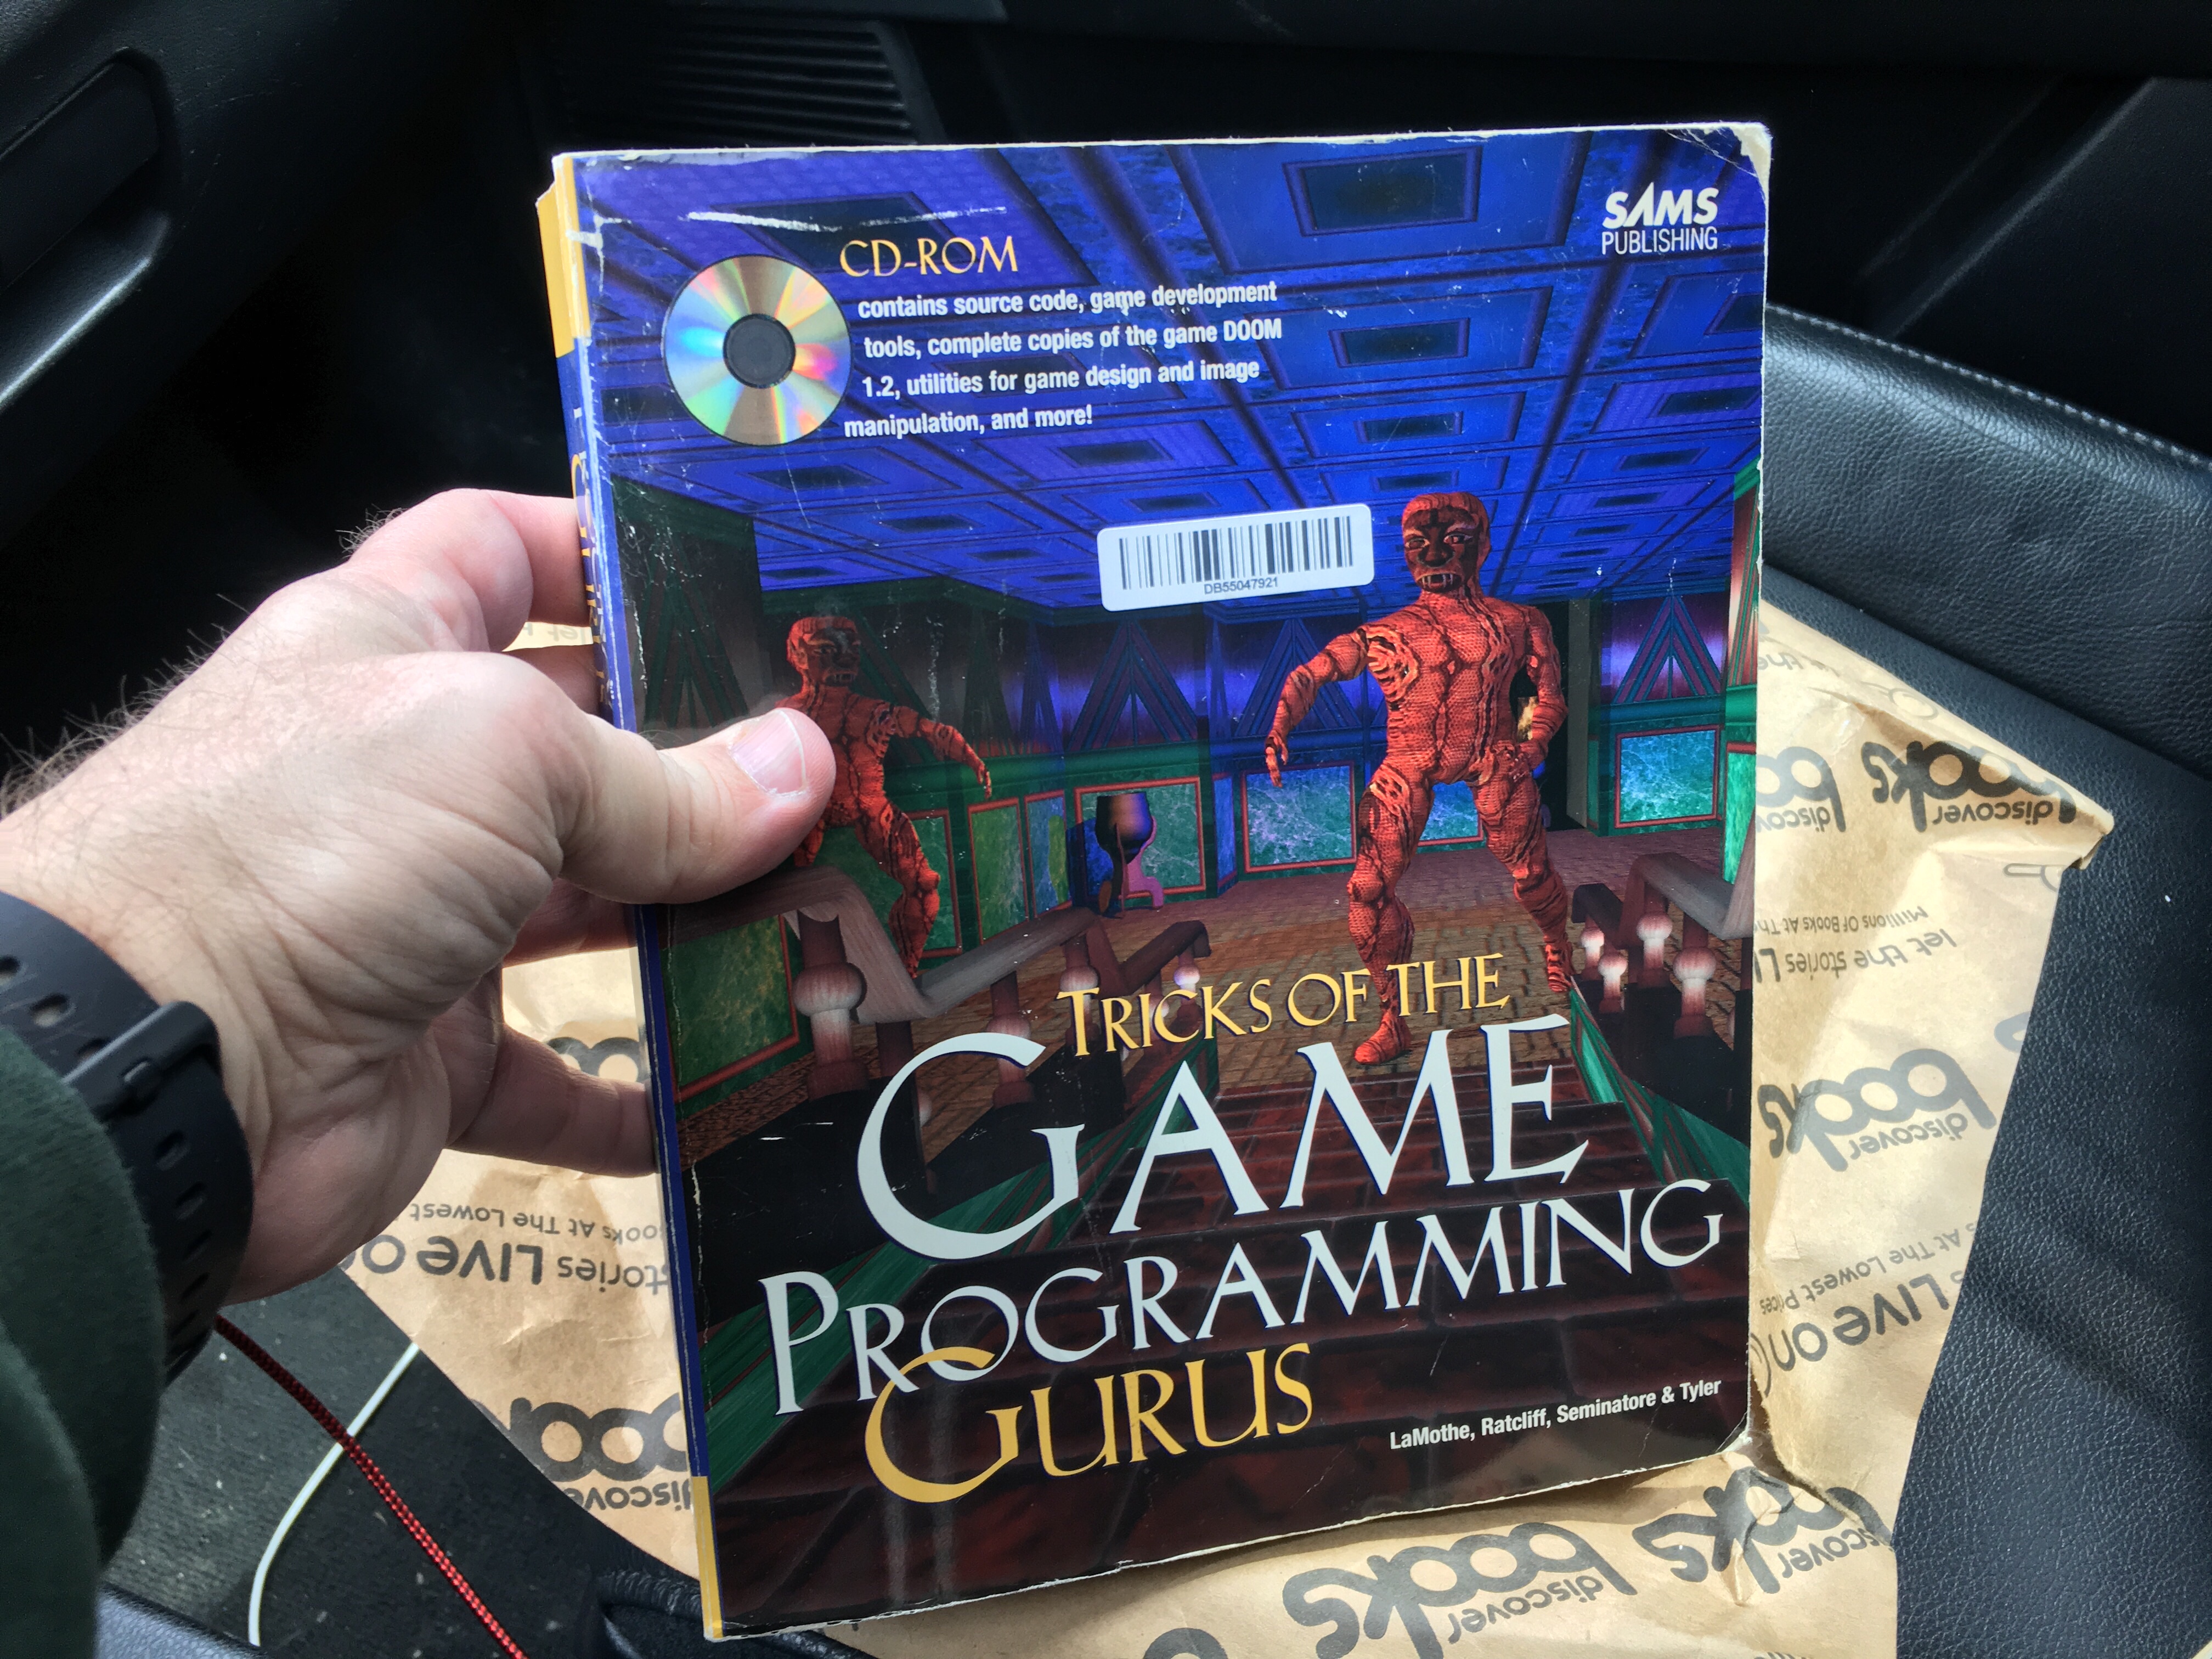
There wasn’t any Skittles at the snack bar, so I ended up with tropical Starbursts. First impression? Not bad.
Author: ryan
-
I deleted Facebook, FB Messenger, and Reddit off of my phone and I feel fine.
I deleted Facebook, FB Messenger, and Reddit off of my phone and I feel fine.
-
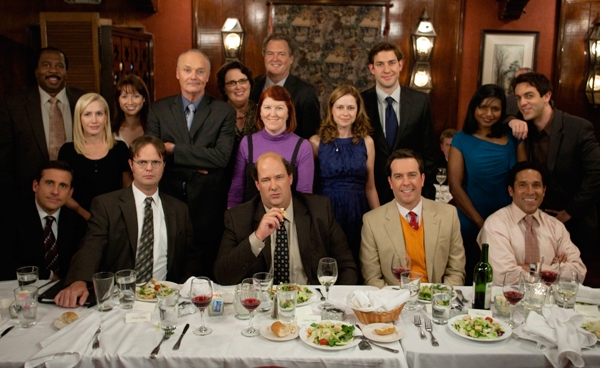
I finally finished The Office
I finally got around to finishing the last two seasons of the American version of The Office, and I’ve got to say, the finale is probably the one of the best series finale that I’ve seen. It’s a tough call between The Office and the MASH finales. Both are excellent and not the travesties that are the finales of the following series:
- Growing Pains – holy clip show Batman!
- Friends – Ugh, no more with Ross & Rachel!
- Seinfeld – I did laugh at the judge’s name.
If you are a fan of The Office and haven’t finished the series, hop over on to Netflix and watch it!! I don’t know of any other series that managed such a huge cast, it’s a credit to the writers to create such great characters and story lines.
Scott’s tots is still a difficult episode to watch.
My favorite moments of the finale are….
Spoilers ahead…
SPOIlers ahead…
SPOILERS ahead…
SPOILERS AHEAD…
Last chance!
Where to begin… Bringing everyone back for Dwight’s wedding, after the airing of the documentary, lends itself well to finishing off the show. I loved how they were married in their graves.
The second to the last episode contained a mini clip show with Jim’s DVD he made for Pam, but for some reason it worked for me. I was a little worried where the show was going with Pam and Jim’s relationship in the episodes leading up to the finale. I’m glad they didn’t go anywhere with Pam and Brian.
The best moment was the reveal of Michael. It was a perfect moment, I teared up a little. Up to that point I was disappointed that Michael wasn’t going to be there.
I was smiling the entire time the staff had their final dance with Darrell.
The episode did have some weak spots. Ryan and Kelly’s story conclusion was weak, along with Nellie getting Ryan’s baby. And the reveal of Erin’s parents felt a little forced, but I’m assuming the writers were trying to tie up all of the loose ends.
By the way, Phyllis mentioned a one night stand in season 2, was this with Stanley?
Now to rewatch the series and see what other things I missed.